Laragon offers a lightweight, fast, and flexible local development environment. It simplifies the process of setting up a local server for PHP, Node.js, Python, and other web applications. Furthermore, Laragon’s user-friendly design makes it ideal for beginners.
Why Choose Laragon?
Several key features make Laragon a compelling choice:
- Ease of Use: Installation and setup are remarkably straightforward.
- Lightweight and Fast: It consumes minimal computer resources.
- Portability: You can install Laragon on a USB drive and run it on different computers.
- Modularity: Laragon supports a range of technologies, including PHP, MySQL, Apache, Nginx, and Node.js.
- Automated URLs: Local project URLs are automatically generated (e.g., project.test), eliminating the need for manual hosts file edits.
Installing Laragon: A Step-by-Step Guide
First, download the Laragon installer:
- Visit the official Laragon website (https://laragon.org/).
- Choose the version that suits your needs:
- Laragon Full: This version includes all features (PHP, MySQL, Apache).
- Laragon Lite: This streamlined version offers core functionalities.
- Click the Download button.
Next, install Laragon on your system:
- Open the downloaded installer file.
- Follow these steps:
- Select your preferred language.
- Click Next to proceed.
- Choose the installation directory (installing on a drive other than C:\ is recommended to avoid potential permission issues).
- Click Install to begin the installation process.
- Wait for the installation to complete.
- Finally, click Finish to launch Laragon.
Running Laragon and Creating Your First Project
To get started with Laragon:
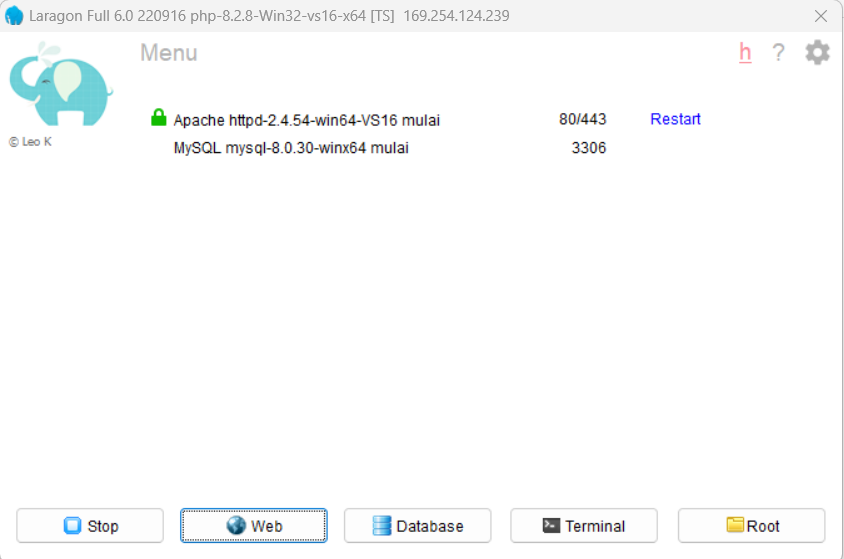
- Launch the Laragon application.
- Click the Start All button to activate all services (Apache/Nginx, MySQL/MariaDB, etc.).
Creating a new project is also simple:
- Navigate to Menu > Quick App.
- Select your desired application type (e.g., WordPress, Laravel, or a standard PHP application).
- Enter your project name.
- Laragon will automatically create a project folder in the C:\laragon\www\ directory.
- Subsequently, your project URL will be accessible in the format project-name.test.
To access your new project:
- Open your web browser.
- Enter the project URL (e.g., http://project-name.test). Now, your project is locally accessible.
Key Features of Laragon
Laragon offers a wealth of features designed to enhance your workflow:
- Pretty URLs: Automatic URL generation simplifies project access.
- PHP Switcher: Easily switch between PHP versions via Tools > Change PHP Version.
- Database Manager: Manage databases using phpMyAdmin or the built-in HeidiSQL.
- Portability: Move Laragon between machines without reinstallation.
- Easy Customization: Add modules such as Python, Node.js, or Composer (Composer documentation).
Tips and Tricks for Using Laragon
Here are a few helpful tips to maximize your Laragon experience:
- Adding New Modules: Download additional PHP or Apache versions from their respective official websites. Then, extract them into the bin folder within your Laragon directory. Laragon will automatically detect the new modules.
- Adjusting Default Ports: If port conflicts arise (e.g., port 80 for Apache), modify the default ports through Menu > Preferences > Services & Ports.
- Backing Up Projects and Databases: Laragon provides built-in features for easy project and database backups.
Conclusion
In conclusion, Laragon is an excellent solution for local web development, particularly for beginners. With its easy installation, user-friendly interface, and powerful features, Laragon lets you focus on development without the hassle of complex server configuration. Give it a try, and happy coding! For additional support, explore the Laragon community (Laragon Forum) or consult the official doc